
Freelancing sounds dreamy, right? Flexible hours, no boss breathing down your neck, coffee whenever you want. But… the truth?
It’s a whole other story behind the scenes. Projects pop in out of nowhere. Deadlines overlap. Files get lost. You forget to send the invoice — again.
Let’s face it — most freelancers don’t have a work problem. They have a workflow problem.
What you need isn’t another productivity hack. You need a system. A clear, repeatable flow that takes you from the first client message all the way to getting paid.
And that’s what this post is all about Freelancer— a clean, no-fuss, copy-paste template that you can use (and adapt) for any kind of freelance work.
1. Inquiry Phase – Freelancer First Message
It usually starts with a short message.
“Hey, are you available for a quick logo?”
or
“I saw your portfolio. Can we talk?”
Don’t reply on impulse. Start with a mini routine. That way, you look professional and stay in control.
Your Quick Response Checklist:
- Reply within 24 hrs. Even a “Got it!” is better than silence.
- Ask basic questions:
• What’s the goal?
• Who’s it for?
• Deadline?
• Budget? - Collect all info before jumping into pricing
Template:
Hey [Client],
Thanks for reaching out! Would love to learn more.
Can you help me with a few quick details?
1. What’s the goal of the project?
2. Who’s your target audience?
3. Timeline you’re aiming for?
4. Estimated budget?
Once Freelancer have these, I can send over next steps.
Cheers,
[Your Name]
Tip: Set up this as a canned response or an auto-reply with links to a Google Form. Save yourself time.
2. Discovery – Let’s Talk
Once you have the basics, time to hop on a quick call (or video chat).
Even if you hate calls, trust me — this step builds trust fast. Plus, you catch red flags early.
What to cover on the call:?
- Get the client to explain the project in their own words
- Ask thoughtful follow-ups
- Set the tone — be clear about your process
- Check if you actually vibe (yes, this matters)
Sometimes, a 15-minute chat can reveal what 20 emails can’t.
3. Proposal + Contract – Put it in Writing
After the call, write up a proposal. Nothing fancy. Just clear.
Include:
- A Freelancer short project summary
- Deliverables list
- Timeline with milestones
- Total cost (and payment terms)
- What’s not included (super important)
- Revision limits
- Cancellation policy
Once that’s approved, send over a contract. Yes, even for small gigs. Always.
You can use tools like Bonsai, Indy, or even a Google Doc with Hello Sign.
4. Deposit + Onboarding – Start Right
Never start without a deposit.
50% upfront is common. Some freelancers even do 60/40 or 30/30/40 (milestone based).
Once the deposit hits your account, send an onboarding email. Think of this like a mini welcome kit.
Your onboarding email could look like this:
Hey [Client],
Thanks for the freelancer deposit — we’re all set to begin!
Here’s what to expect:
🗓 Start Date: [Date]
📦 Files: Please upload to [Drive/Dropbox link]
🗣 Communication: We’ll chat via [Slack/Email/Trello]
📢 Updates: I’ll send check-ins every [day/week]
Excited to work with you!
– [Your Name]
You can even include a calendar invite or a Notion board if you want to go pro-level.
5. Execution – Doing the Work
Now it’s grind time.
Whatever your craft — writing, designing, developing, editing — now’s when you do the thing.
Keep these things in mind:
- Use a task freelancer manager (Trello, Click Up, Notion)
- Break work into phases (e.g., Draft → Review → Final)
- Communicate at each phase — don’t vanish for days
- Backup your files (please don’t lose your work on deadline day)
I send quick weekly updates even when things are smooth. Something like:
“Hey, just checking in — things are moving along well. I’ll share the first draft by Thursday as planned.”
It sounds simple, but clients love being in the loop.
6. Revisions – The Feedback Dance
Ah yes. Revisions. Every freelancer’s favorite part.
If you didn’t clearly define “how many” rounds in your contract — prepare for an endless loop.
Here’s how to survive revisions:
- Ask for all feedback in one email/message
- Set a deadline to receive it (e.g., “Send all changes by Friday”)
- Don’t start editing until you get everything
And if they ask for things way outside scope? Politely flag it.
“Hey! These changes go beyond what we agreed — happy to do them for an extra $XX.”
You teach clients how to treat you. Set boundaries.
7. Final Delivery – Package It Well
Once everything is freelancer approved, wrap it up like a pro.
Final delivery checklist:
- Clean, renamed files
- Clear folder structure
- Formats they asked for (PDF, PNG, .zip, etc.)
- Thank-you message
Example:
Hi [Client],
Here are the final deliverables:
[Link to files]
Let me know if all looks good. Would love to hear your thoughts!
If you’re happy with the results, a quick testimonial or Google review would mean a lot.
Thanks again — hope to work with you again soon!
– [Your Name]
8. Invoice + Payment – Get Paid
Almost there — but don’t forget to send the final invoice.
Use tools like:
- Wave (free)
- Bonsai
- PayPal
- Fiverr Workspace
Your invoice should include:
- Your info + client’s
- Project name
- Amount due
- Payment due date
- Accepted methods
- Notes (e.g., “Late payments subject to 5% fee”)
Set a reminder for 3 days before due date. Follow up if needed. Don’t feel shy — you worked for it.
9. Follow-up + Testimonials – Close the Loop
Even after you get paid, don’t just disappear.
Follow up 1–2 weeks later.
Ask:
- How is the project performing?
- Any other support they need?
- Can they send a quick review or referral?
You can even offer a mini discount on the next project to keep the door open.
This stage is where repeat clients and referrals are born.
Final Thoughts
Having a consistent workflow changes everything. It removes stress. Builds trust. Saves time. And yes — it helps you actually enjoy freelancing again.
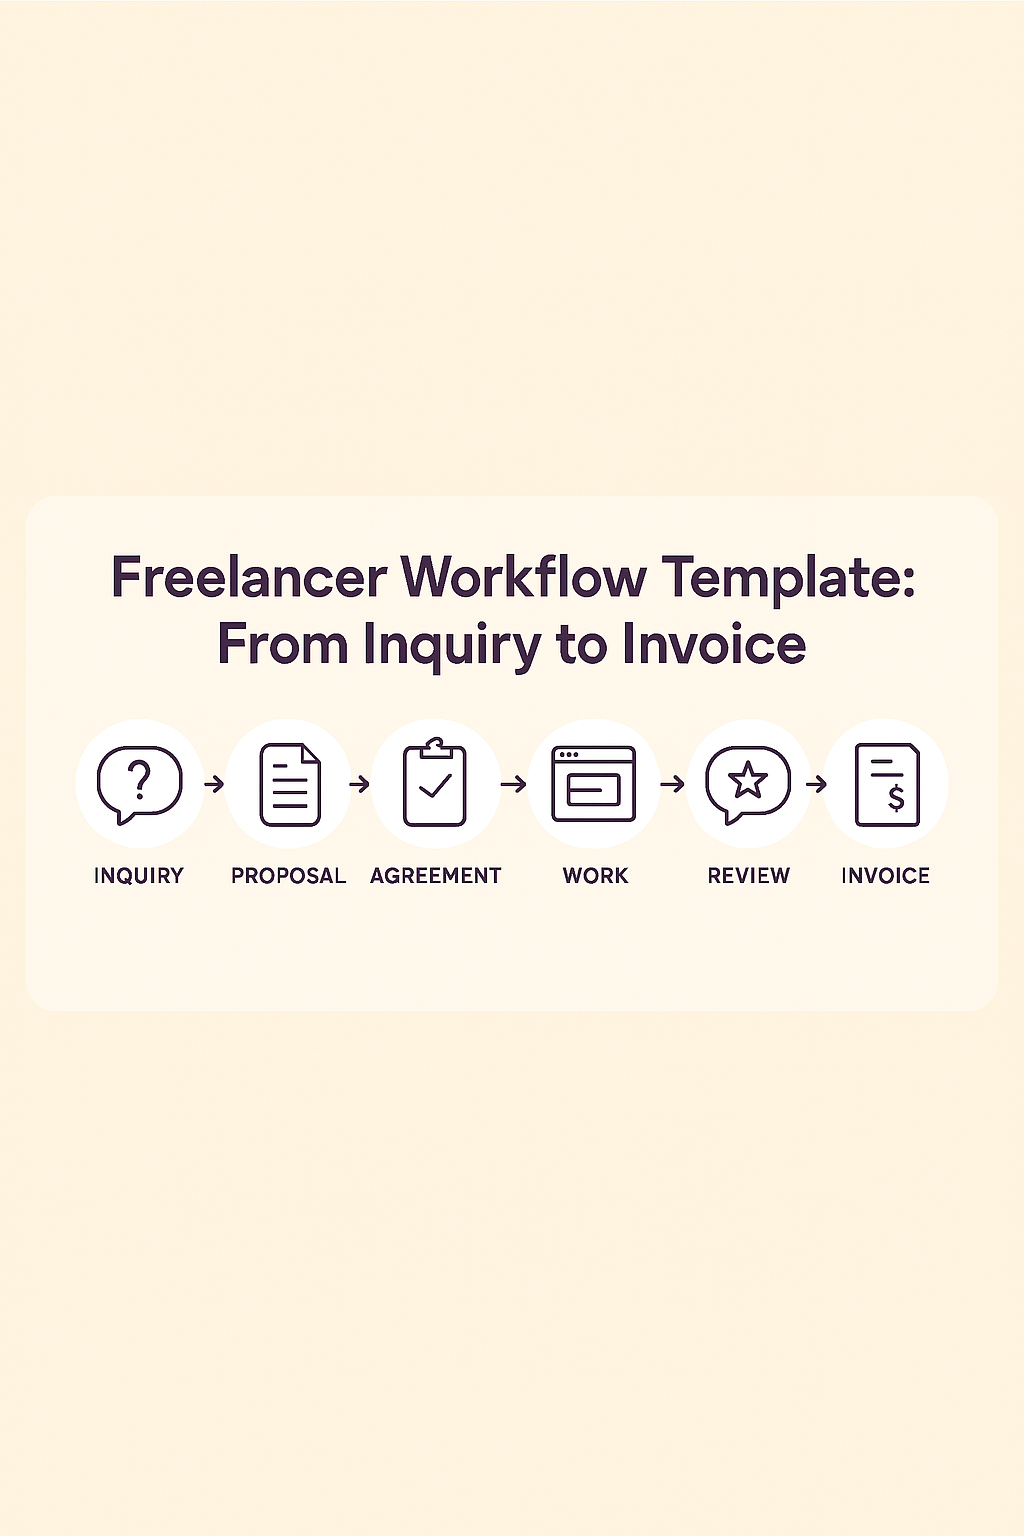
So here’s a recap of your Freelancer Workflow Template:
- Inquiry – Ask smart questions
- Discovery – Talk and evaluate
- Proposal – Be clear on scope + pricing
- Deposit – Set boundaries early
- Execution – Deliver with updates
- Revisions – Guide the feedback
- Final Delivery – Package clean
- Invoice – Get paid, on time
- Follow-up – Get testimonials, build loyalty
You can copy this into Notion, Trello, or print it as a checklist. Whatever works.
It’s your business. Your system should work for you, not stress you out.